This is going to sound like a humble brag. Perhaps it is. It’s not something that I often do, so grant me amnesty from judgment as I brandish the following: At least once in my life, someone has been surprised (amazed, even?) that not only do I paint my own nails — but that they are done with regular polish.
I think his incredulity stems from the fact that it doesn't, generally, look like a chimp is my nail technician. There is a general level of finesse about my nail beds. Like I definitely at least paid $40 for this set. I want to welcome you into that circle — welcome you to the Nail Party — an event that, from here on out, you will host. Here are all the tips and tricks I've learned through months of trial and error.
Always wipe
The first point of contact with the brush and your nail plate will have the most amount of polish. This is usually why you end up with polish flooding your cuticle area. When you pull your brush out of the bottle, always wipe the far side of the brush. I usually like to give the side closest to me one dab on the inside of the bottleneck to get that one big drip off. Start with your brush half a centimeter or so away from the cuticle, place it down, and pull up to the free edge to disperse that first blob of product. Then, from that starting position, scoot it down and close to your cuticle. Aim for a hairline space between the color and your skin to keep things looking neat. Repeat on the left and right sides until your whole nail is covered.
Paint in thin layers
You know how a little bit of snow will usually just melt overnight, but those huge, filthy mounds of snow that pile up in parking lots stick around until the following spring? Let that logic apply here: A couple of thin layers will dry more efficiently than one thick one.
Remember the ugly duckling? He’s a swan now!
With that in mind, there’s a good — great, even! — chance, that your first coat might be streaky and ugly. Don’t try to get perfect coverage on your first go! Build up to full opacity gradually. You’ll get there.
How long do you wait between each layer of nail polish?
If it’s dry to the touch, that’s usually a sign that it’s safe for your next coat. A good average across my collection of nail polish is around eight minutes. I hear you. I get it. That is kind of a long time to wait. The alternative, however, is it getting messed up and you have to start over.
Nail polishes all contain solvents. This keeps them at the right viscosity. However, that solvent can slightly rewet the previous layer, creating a soft mushy layer ideal for smudges and nicks. So the drier each coat is, the better.
Clear your evening
There is a direct correlation between rushing your nail polish and it looking bad. If you don’t have several (I’m talking two or three) hours to do the process, just wait until you do. It’s supposed to be a relaxing experience, remember?
There’s a logical limit to how many layers you can paint
Remember what I said about the solvents? After around four layers of nail polish, it really won’t ever dry correctly. It’s just too much product on your nails. Most of the time, whatever you want to accomplish with your color can be accomplished in three coats, so this usually isn’t an issue, but it is helpful to keep in mind.
Quick dry nail polishes are a scam
On paper, they sound great! It almost seems like you can paint your mitts on the crosstown bus and arrive at your destination with an intact manicure. In practice, there’s a reason not all brands have just adapted that singular formula. I find, especially as a beginner, that the working time of a standard polish — the 30 or so seconds before the polish coagulates — is helpful. This allows you to move it around into a neat single layer, whereas a quick dry formula can often get too chunky in half that time. That’s often before you’ve even finished a single nail.
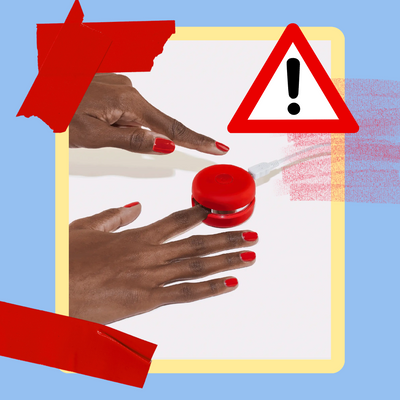
How to clean up a messy application?
If you’ve flooded the cuticle area, you can just take a toothpick to carve out a clean edge. If there’s polish on the skin, you can take a thin, flat brush (or even a Q-Tip) dipped in nail polish remover to clean up any mistakes. I like this soy, acetone-free one.
The key has been topcoat all along
So once you get the colored part of the painting process done, if you care at all about having it last, the top coat is the single most critical part of a good DIY manicure. They usually harden faster than lacquers, so they create a protective barrier while whatever is underneath it really dries. This is the only way to stop imprints of your bedsheets getting pressed into your nails.
I recommend...
Cirque Colors Looking Glass Top Coat
Get oily
Cuticle oil not only helps everything look more attractive, but it can also help speed up the plasticization of your polish, a.k.a. the drying process, so don’t be afraid to smother your topcoat in it. Give it a solid 10–20 minutes to dry, practicing the Dutch art of doing nothing. There! You did it!
I recommend...
Tenoverten The Rose Oil Cuticle Treatment
READ MORE LIKE THIS
 Or Gotham
 Or Gotham
 Isis Gutierrez
 Or Gotham