
Kim Kardashian West’s KKW Beauty light contour kit sold out in 2.5 hours.
Which is not surprising at all. Kim’s entire signature look, after all, has been her contoured face for the past, well, decade. So it makes sense that her first beauty products would include a cream-based contour kit full of three sticks including a sponge and brush. While there were mixed reviews (some, like Jeffree Star LOVED it), others despised it for how little you were getting for the $48 price tag.
SEE ALSO: This is the golden look you can wear all summer
The haters have a point: Literally, you’re getting only .064 ounces of product for $48. For those who’ve always wondered what it’d be like to actually contour your face but didn’t want to break the bank, we tried the look. And it’s not as difficult (or expensive!) as we previously believed.
With a few simple steps, a brush here, a smear there, and two shades, you’re on your way to being completely *not* like Kim Kardashian.
Here’s how to contour if you’re doing it for the first time!
What you need:
-Foundation or concealer that’s close to your own skin tone
-A stick concealer/foundation that’s two shades darker and another two shades lighter
-Beauty blender
-Primer
1 After cleansing, add primer
Apparently Kim Kardashian doesn’t use primer. For the rest of us, it’s something that allows makeup to stick to your pores like glue. Try using one of your favorites. We like this Blur Stick from Milk, which seems to ~literally~ blur your pores. Another good one is from Make Beauty, which comes with SPF 30. Finally, if neither are in sight, try a slightly, uh, different method. Do what Colton Haynes does: use a chapstick or lip balm. Go over your face, under eyes, and blend in.
2 Add concealer that matches your skintone
As your base, find a concealer that matches your skin tone. For this shoot, we used Koh Gen Do’s that comes in a liquid form with a brush. Blend throughout and make sure to get your under eyes as well. Pro tip: tap, tap, tapping allows the color to go deep into the pores instead of smearing it on. The gentler the better.
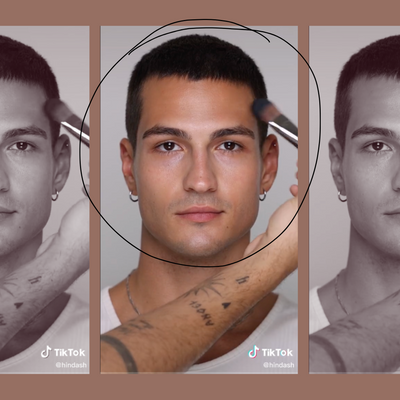
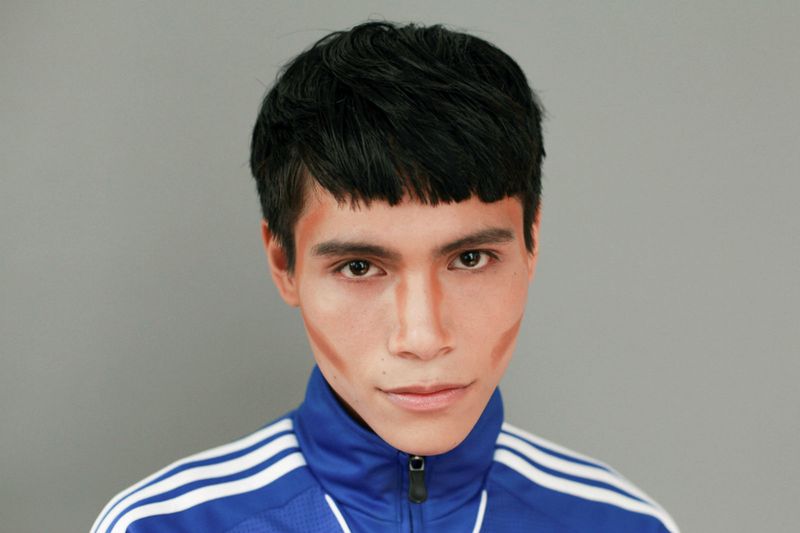
3 Map it out
Taking the darker foundation/concealer, trace the areas you want to make sharper. That includes the cheekbones, the nose to make it taller, the temples. If you need to make your chin sharper, add color on your chin line. On the cheekbones, find the hollow part of your cheek and glide the color underneath. Feel free to mimic the above for your own face.
4 Blend it out and add some highlights
Blend with your fingers or your Beauty Blender upwards on the line you just drew. Add a couple of dabs with your lighter foundation/concealer right under the darker color. This will add some highlights and make it L-I-T. Then, add the color under your eyes to make them pop. Blend, blend, blend upwards and outwards.
5 Brush it out

As a final step, you can totally brush your face out to allow the colors to blend together, but totally can be done by dabbing your blender throughout. Add a salve on your lips and you’re truly done!
Photos by Carolyne Teston; Makeup by Louanna Factora; Hair by Brittan White; Additional support from Elizabeth Denton